


| At the End of the Rainbow |
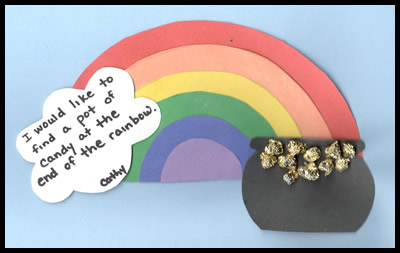
At the End of the Rainbow
Materials Needed:
What to Do: - Trace templates onto the matching colors of construction paper. After circles are all cut out, have children glue circles one on top of the other starting with the largest and ending with the smallest. (See image below.) - After the glue is dry, cut in half, this will give you a rainbow. (Depending on skill level of children teacher may want to do this step.)
- Glue tissue paper, foil gems or gold coins to the top of the pot.
Example of circle placement
|
| [ Back ] [ Send to a friend ] [ Print Preview ] |
 Construction paper (red, orange, yellow, green, blue, purple, black, and white)
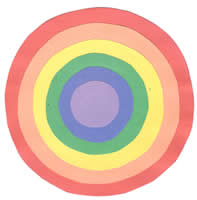
| Comments | |
| Be the first to leave a comment! (Note: You must be logged in to leave a comment.) |

